
My trusty iPhone 6 was an excellent friend and assistant for 6 years, and only needed one battery replacement in that time. But with that second battery now dying and an increasing number of apps not being supported or updated any more, it’s time to move on.
Therefore, I’ve now bought Apple’s new iPhone 13, so I’m fully up to date at last. I’ve got the Blue 256Gb model, which looks and feels really nice, and is working really well.

With 7 generations between my old and new devices, there’s a world of difference between them, which isn’t remotely surprising. It’s a big leap forward in every respect – the screen is bigger and brighter, the audio’s better quality, the camera takes clearer photos and videos, and it’s much speedier at opening apps and doing tasks.
There are already lots of reviews and videos out there about the iPhone 13 and related models, by people who are much more professional and technical than myself. So I won’t go into detail about the technical specifications and all the features. I just wanted to share my first impressions as a regular user, after having it in my possession for a few days. I’m sure I’ll discover more about it as I continue to play with it.
So I hope you enjoy my overview and find it of interest. This isn’t sponsored by or affiliated with Apple in any way, and all opinions are my own. And feel free to let me know if there’s anything in particular about the phone or any apps that I should check out, as I’m looking forward to getting very well acquainted with my new companion!
Contents
Setup
Data Transfer
Setting up the device was very quick and simple. It’s the first time I’ve ever upgraded from one iPhone model to another, and I was very pleased to see how easy it was.
I just had to place the 2 phones next to each other, making sure Bluetooth was active on the old phone, go through the security checks and answer a few questions about features like location settings, and then it just transferred everything over. That whole process from start to finish took about 15 minutes, no doubt aided by the fact that I didn’t have much stored on my old phone. If it had been filled with lots of media like photos and music it would have taken longer.
The setup process is fully accessible for visually impaired users too, as you can click the side button 3 times to turn on the VoiceOver screen reader, or double-tap the screen with 3 fingers to turn on Zoom. You can see a demonstration of the setup process with speech in James Rath’s recent unboxing video, and his channel is well worth following in general.
Face ID
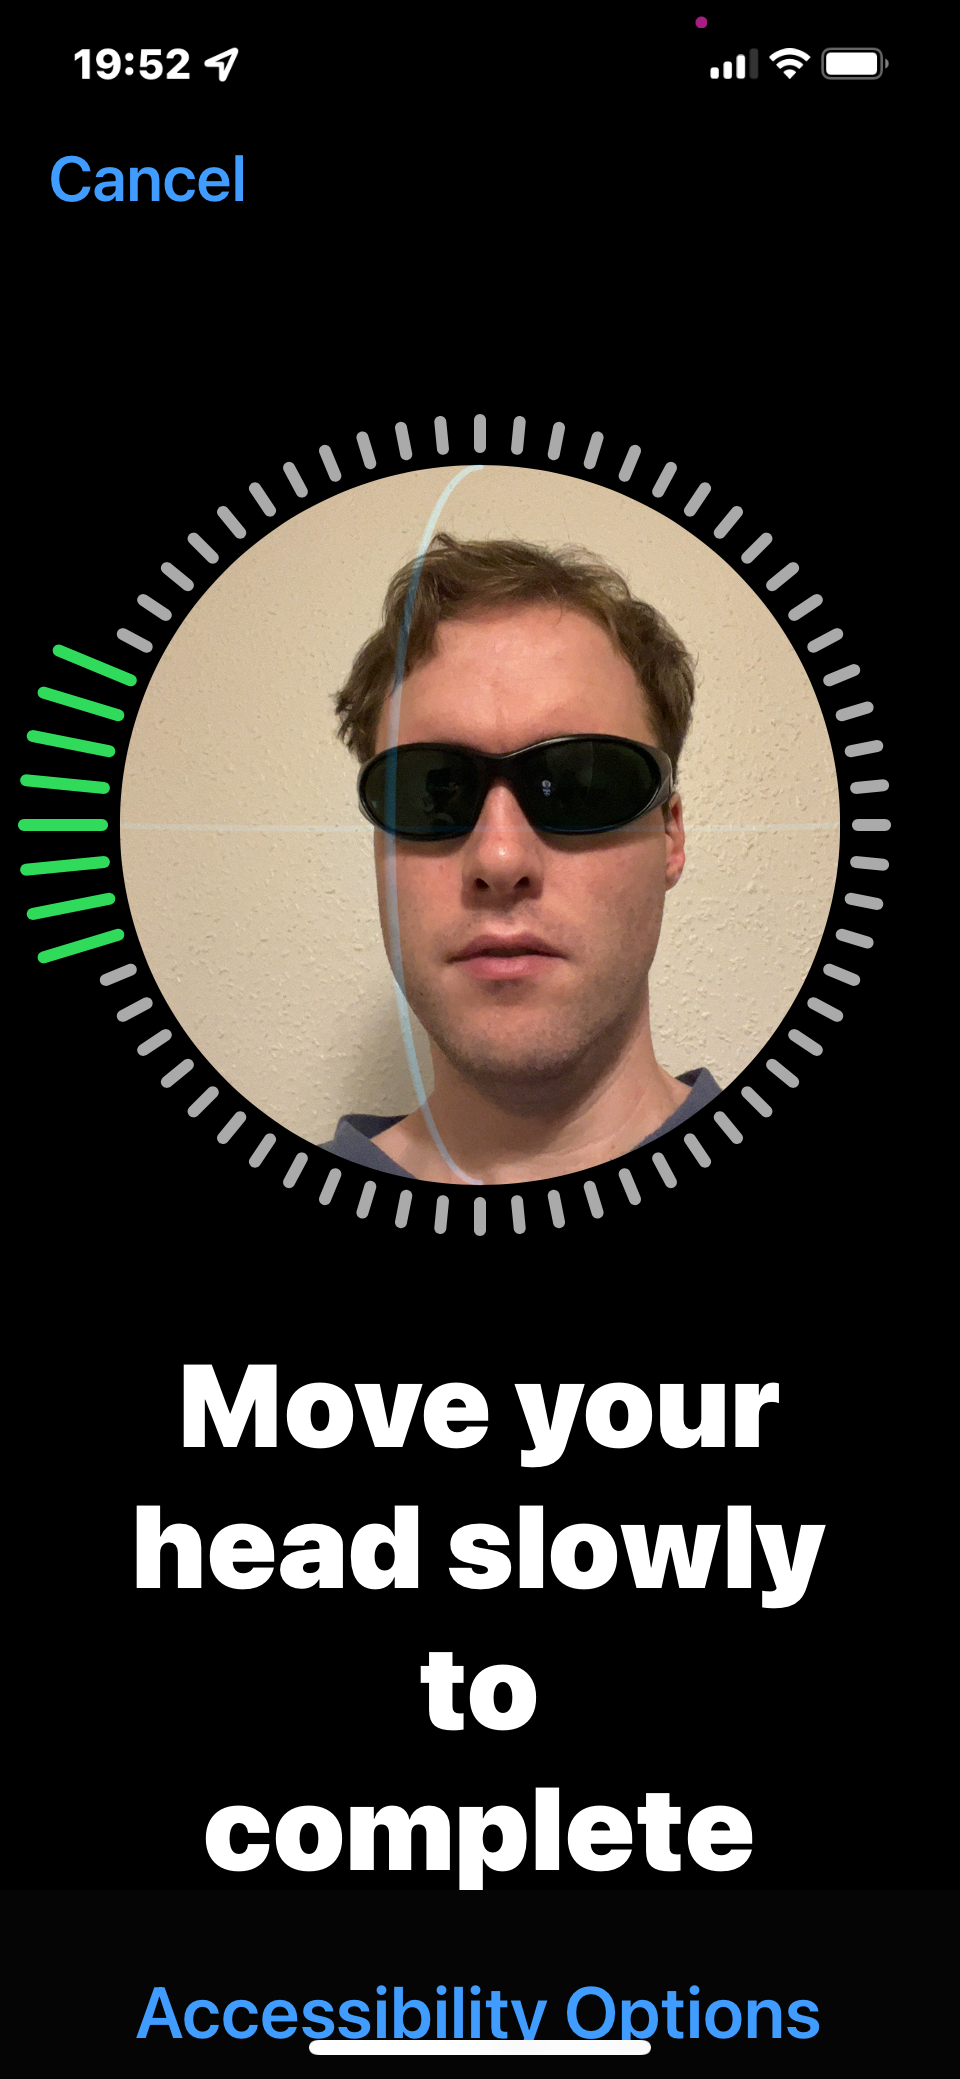
Part of the setup process involved activating Face ID, which is optional if you just want to use a passcode on its own. Having been accustomed to Touch ID previously – which isn’t available on their recent phones as there’s no more Home button – this was a completely new way of authenticating for me. And given my impaired vision, I didn’t know if I would be looking exactly where it wanted me to.
But I actually found it very easy to set up. I just had to position my face in the circular frame, which was clearly displayed, and it recognised when I was in position to trigger the next step. If you’re using VoiceOver, it talks to you to help with that too. Then I just had to move my head around in a circle until it had seen my face from all angles, before repeating it a second time for confirmation. It just took a few seconds and I completed both scans on the first attempt with no issues.
And since then the phone has been unlocking quickly and reliably for me. It took a little bit of getting used to initially of course, but as long as I don’t hold the phone right up to my face, and as long as I just look roughly in its direction, it works fine every time. It doesn’t actually show my face on the screen as it scans – when I want to unlock the phone I just tap the screen to wake it up, hold it slightly away from my face, and the padlock icon immediately opens, so I can swipe up and see the Home screen. Or if an app wants to authenticate me, again I just hold the phone slightly away from me for a brief moment. It’s very quick.
In the Settings app, if you go into Face ID & Passcode you can choose where you want Face ID to be used – unlocking the phone, auto-filling passwords, iTunes & App Store, Wallet & Apple Pay, and any other apps you’ve given consent to.
But you can also set an alternative appearance there, enabling the phone to still acknowledge you even if you look a bit different. So I’ve set it up to recognise me with my green-tinted sunglasses on, as that will really come in handy when I’m out and about. I hadn’t set that up before I went out over the weekend, so I haven’t tested it properly yet, but next time I’m out it will hopefully work.
SIM Card
Once the setup was complete, I also had to transfer my SIM card from my old phone to the new one. But rather than fiddling with the tiny card from my old phone, this time I could download an electronic SIM from my mobile provider EE instead. They simply texted me a PIN code on my old device, which I entered on the new one, as I was already accessing the internet on the new phone via my Wi-Fi.
The change then took place instantly, deactivating the card on my old phone and giving me phone coverage on the new one. So I can still use Wi-Fi on the old phone, but I can’t make and receive calls or text messages on it any more. They do add 50p on to the bill as a one-off charge for the electronic SIM – compared to £1.50 if you order a new physical card, or no charge if I had actually moved my old card over – but that’s fine.
The only minor downside in that regard is that 5G isn’t yet available in my area of London, according to EE’s coverage checker. But I know it’s available elsewhere in the city, so I should still be able to make use of it sometimes when I go out. And at home 4G is perfectly adequate, as I use the phone on Wi-Fi there anyway, and I have Wi-Fi Calling enabled.
Settings
Many of my existing settings, including accessibility features, were transferred over during the upgrade. But the iPhone 13 comes with iOS 15, whereas the iPhone 6 could only support iOS 12, so there are many features that were previously unavailable to me. Consequently I’ve been having a good dig through the Settings app, to see what might be useful or interesting.
Accessibility
I’m really pleased that the Accessibility option is now a main menu item in its own right, instead of being tucked away under the General heading like it used to be. Here are the main options that I’m using, which are just scratching the surface of the wealth of settings available.
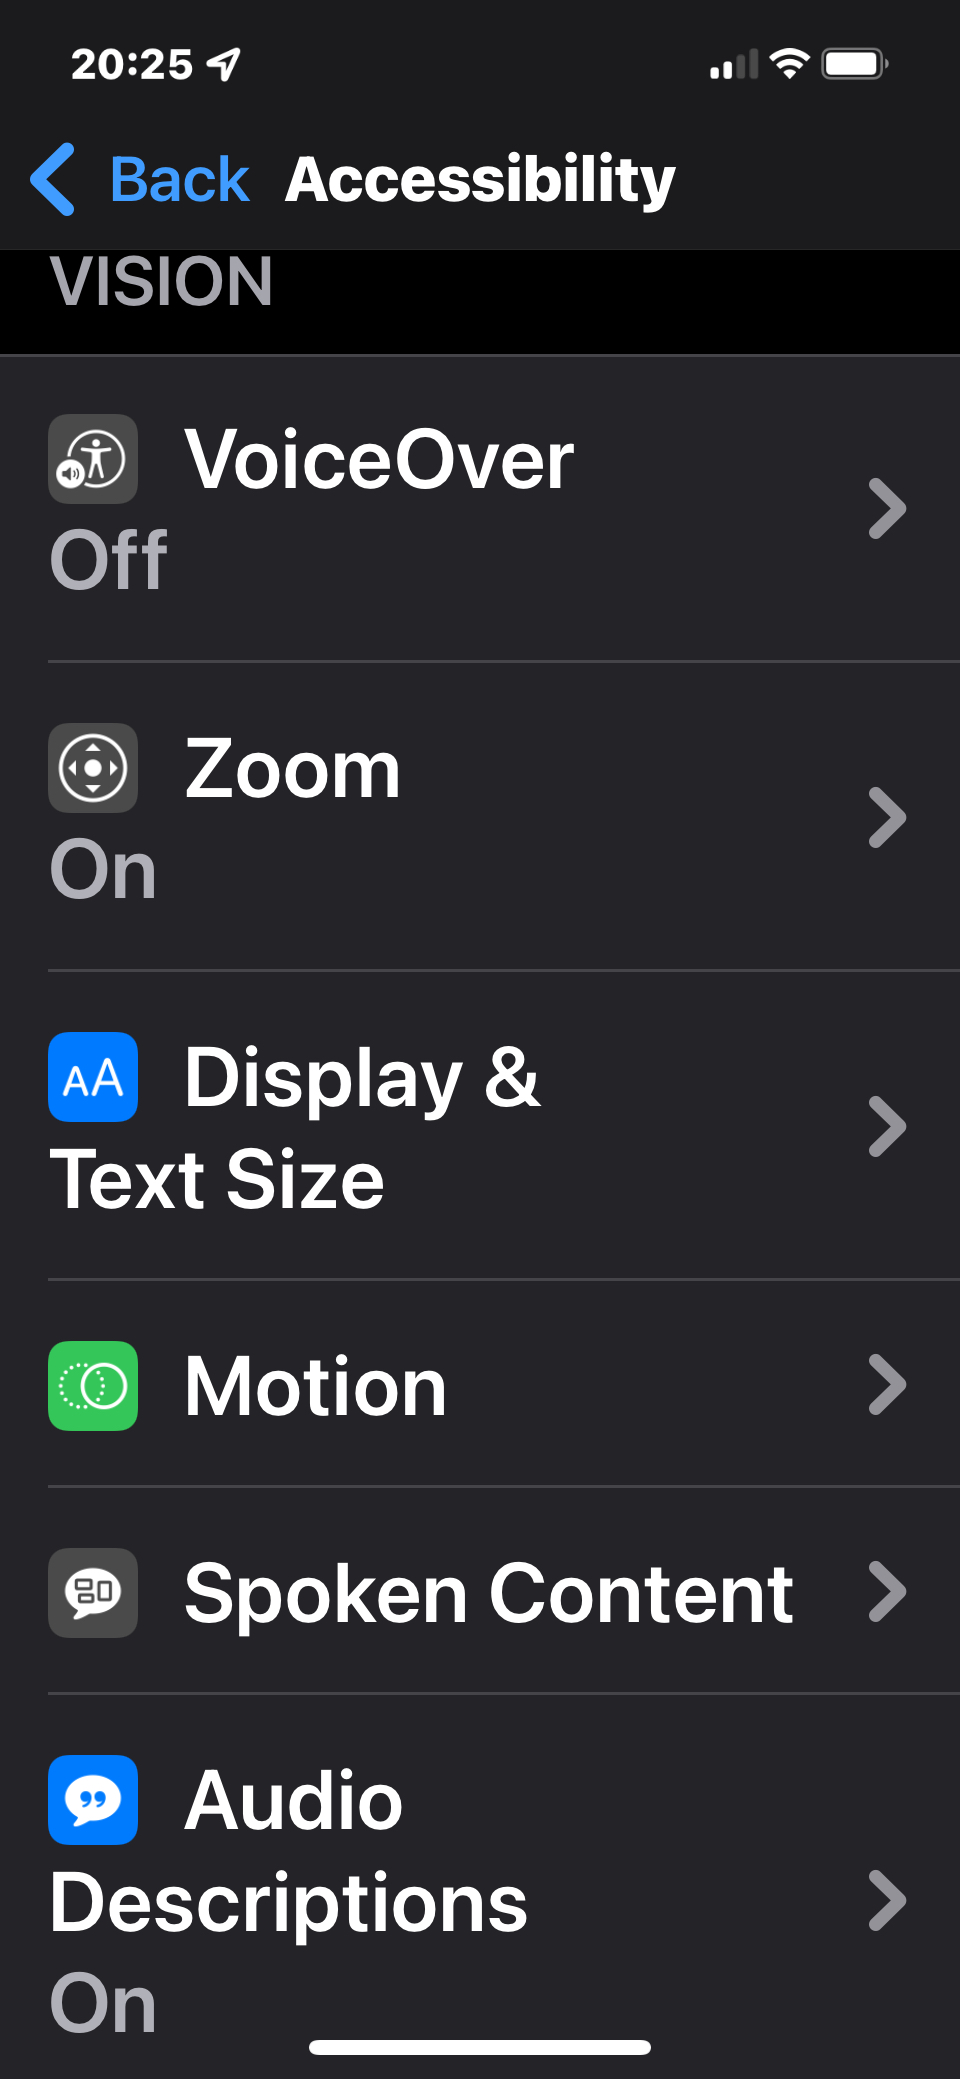
- Zoom – This allows me to use a 3-finger double-tap gesture to zoom in on the screen.
- Display & Text Size > Smart Invert – This flips the screen colours, so that I have black backgrounds with white text, which reduces glare and greatly improves contrast. But it won’t invert photos and videos, as you obviously need to see those properly. It also won’t invert apps that have their own Dark/Night modes enabled (and the iPhone now has its own dark mode too, as noted below). You can also select their original Classic Invert option, if you want to invert everything on screen irrespective of what it is.
- Display & Text Size > Bold Text, Larger Text, Reduce Transparency & Increase Contrast – These all help to make things bigger and more prominent, so they’re even easier to read.
- Spoken Content – While I don’t use the VoiceOver screen reader, I do have options enabled here, so that I can use specific gestures to make the phone speak selected text or the entire screen, as it is easier to have things read to me in that way sometimes.
- Audio Descriptions – If I were to download any films or shows from Apple TV, this will enable audio description to be played automatically, when it’s available.
- Touch > Back Tap – This is a new option that allows you to double-tap or triple-tap the back of the phone to perform system tasks, accessibility actions or trigger shortcuts. So I’ve enabled that as well, but I’ve found it rather hit-and-miss as to whether the iPhone responds to the taps or not.
- Accessibility Shortcut – This allows me to activate the accessibility features of my choice by triple-clicking the side button. If just one item is selected, the triple-click will switch it on or off straightaway, but if multiple options are selected, then they’ll appear in a menu instead. As well as Smart Invert and Zoom, I also have Magnifier enabled here, as that’s a really useful app that lets me use the camera to read and look at things close-up (and it lets you change the brightness, contrast, colour filters, etc). I also have it as an option in the Control Centre as well.
- Per-App Settings – This is a new feature to me, that allows you to customise which accessibility features are active when using certain apps. That’s a really useful addition, because some apps don’t work well with things like Smart Invert or larger text sizes. So I’ve already used it to turn off Smart Invert for a few apps that don’t look right when it’s switched on.
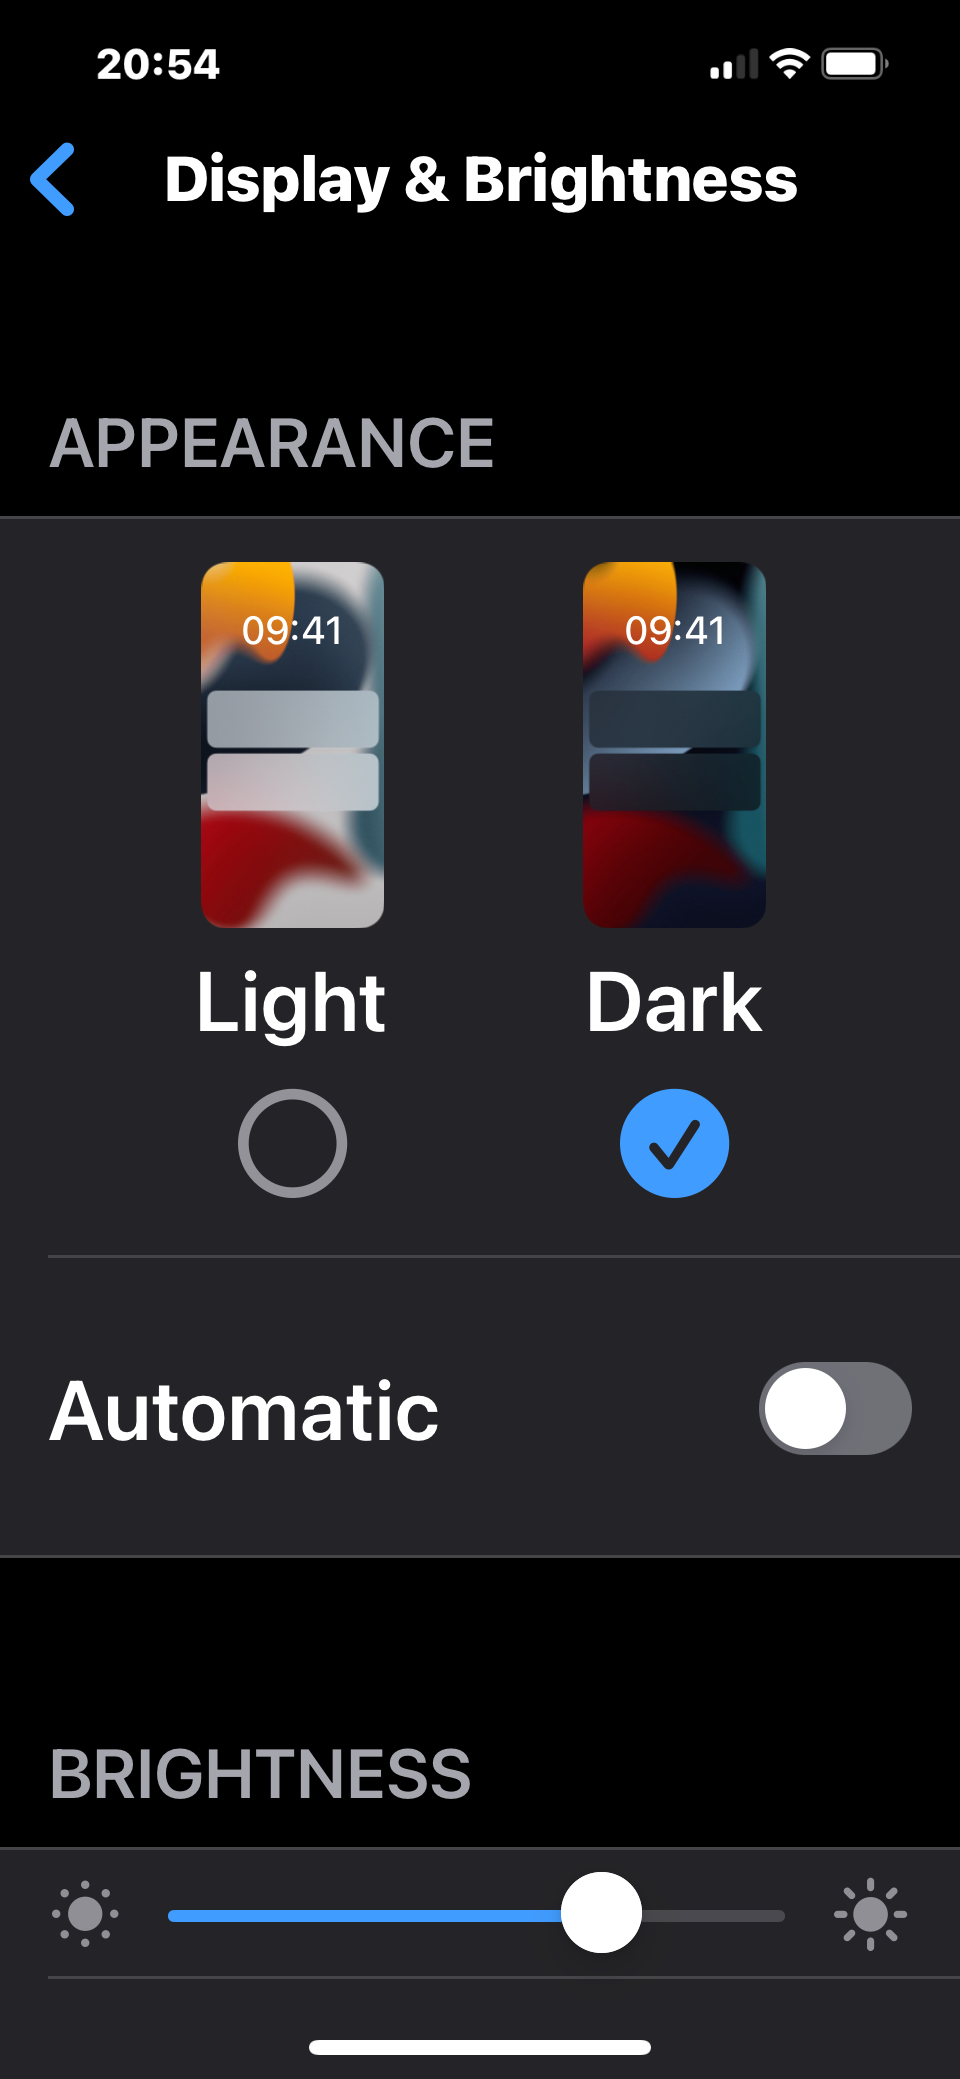
Meanwhile, under Display & Brightness on the main Settings menu, there are also a couple of other options that I’ve enabled:
- Dark Appearance – This inverts the menus, toolbars and skins of apps so that they have a dark background and light text. But it won’t always invert the pieces of content they display, depending on how the app has been set up. And some apps have their own Dark/Night modes that I’ve enabled too. This is different to Smart Invert, which changes everything apart from images or videos, and it also won’t invert anything that Dark Mode has already done. So it’s safe to have both options on together. Safari illustrates this best – Dark Mode will invert just the app toolbars and menus, but websites will still have white backgrounds, whereas Smart Invert will flip the web sites as well. You can also set a schedule to switch between the Light and Dark modes if you want, such as sunset to sunrise or customised times.
- Display Zoom – This is a new feature that enlarges the controls on the phone. This is different to the Zoom accessibility feature above, which lets you manually zoom in and out on the screen.
- The options for bold and enlarged text can also be found in this area of the Settings app.
I have had a little play with the Siri voice assistant as well, but it’s not always very reliable for finding out information. To try it out, I asked it to tell me the score of the recent Wales football game shortly after it had finished. It correctly identified their World Cup qualifier against the Czech Republic – but it told me that it finished in a scoreless draw, whereas it had actually just finished 2-2, and Amazon’s Alexa got it right when I asked that. Siri can still be useful for some other tasks though, it’s just a bit limited when looking up information sometimes.
Other Settings
Here’s a selection of other options, old and new, that I’ve either enabled or have just noticed while browsing through.
- Apple TV+ & Apple Arcade free for 3 months – I played a few Arcade games during lockdown last year, but didn’t feel that it was worth continuing the subscription, in large part because I didn’t have time to play a lot. But having a few months to play there for free might be fun. I’ve never watched anything on Apple TV+, and I haven’t noticed anything on there that I’m desperate to watch, but maybe I’ll give that a go too. I’m open to suggestions for games or shows to check out.
- Notifications:
- Scheduled Summary – Allows you to bundle notifications together and receive them at a time of your choice, while still allowing time-sensitive messages to get through. I haven’t turned this on, as I don’t get a huge number of notifications anyway, but it’s handy to know about.
- Siri Suggestions – Allows Siri to suggest tasks you can automate in the Shortcuts app. I’ve got this on, as it might be handy to learn about that.
- Emergency Alerts – I see there are options enabled here to receive Extreme and Severe alerts from the government. I don’t think our government in the UK is using these, but I suppose it’s best to leave them on just in case.
- Sounds & Haptics – The System Haptics setting gives little vibrations in response to controls and interactions, which is a feature I never had on my old phone. So it’s a nice way of getting additional feedback, I like it.
- Focus – This is a new feature that allows you to control what notifications and alerts you receive in certain situations or at certain times. It can also tell people and apps if you’re busy and not receiving notifications when they try to get your attention. So as well as the usual Do Not Disturb feature, there are now categories for Personal, Sleep and Work, all of which are heavily customisable, and you can add more of your own too. I don’t feel the need to turn them on at the moment, as I don’t get many interruptions anyway, but I have gone through and set them up, just to get a feel for what the options are, in case I want to activate them in the future.
- Control Centre – This is a handy way of bringing up some common settings very quickly, and I used it a lot on my iPhone 6. But you now have to swipe down from the top-right edge of the screen to access it, whereas I was used to swiping up from the bottom. Likewise, to open the App Switcher, you now have to swipe up from the bottom and hold in the centre of the screen for a moment. Both of those new gestures did confuse me at first, but I’ve got used to them very quickly, so I don’t have an issue with them.
- Wallpaper – For the Home and Lock screens you can choose dynamic images that animate, static pictures, or live wallpapers that move when you press on them. And when you have the Dark Appearance selected as mentioned earlier, as in my case, the wallpaper is dimmed so that the icons and text stand out more clearly, which is a very nice touch.
- Exposure Notifications – This allows public health authorities to notify you if you may have been exposed to Covid-19. England uses the NHS contact tracing app instead though, which I’ve finally been able to install, as the iPhone 6 wasn’t supported. So I don’t need to turn this option on.
- Safari – They’ve moved the address bar to the bottom in the new version of their mobile web browser. And I actually don’t mind it being there, it does make it easier to tap and type in the text field single-handed. But you can move it back to the top again in this area of the Settings if you wish. There are quite a lot of privacy options here too, if you want to avoid being tracked and want to be alerted about potentially fraudulent websites.
Camera
Photos
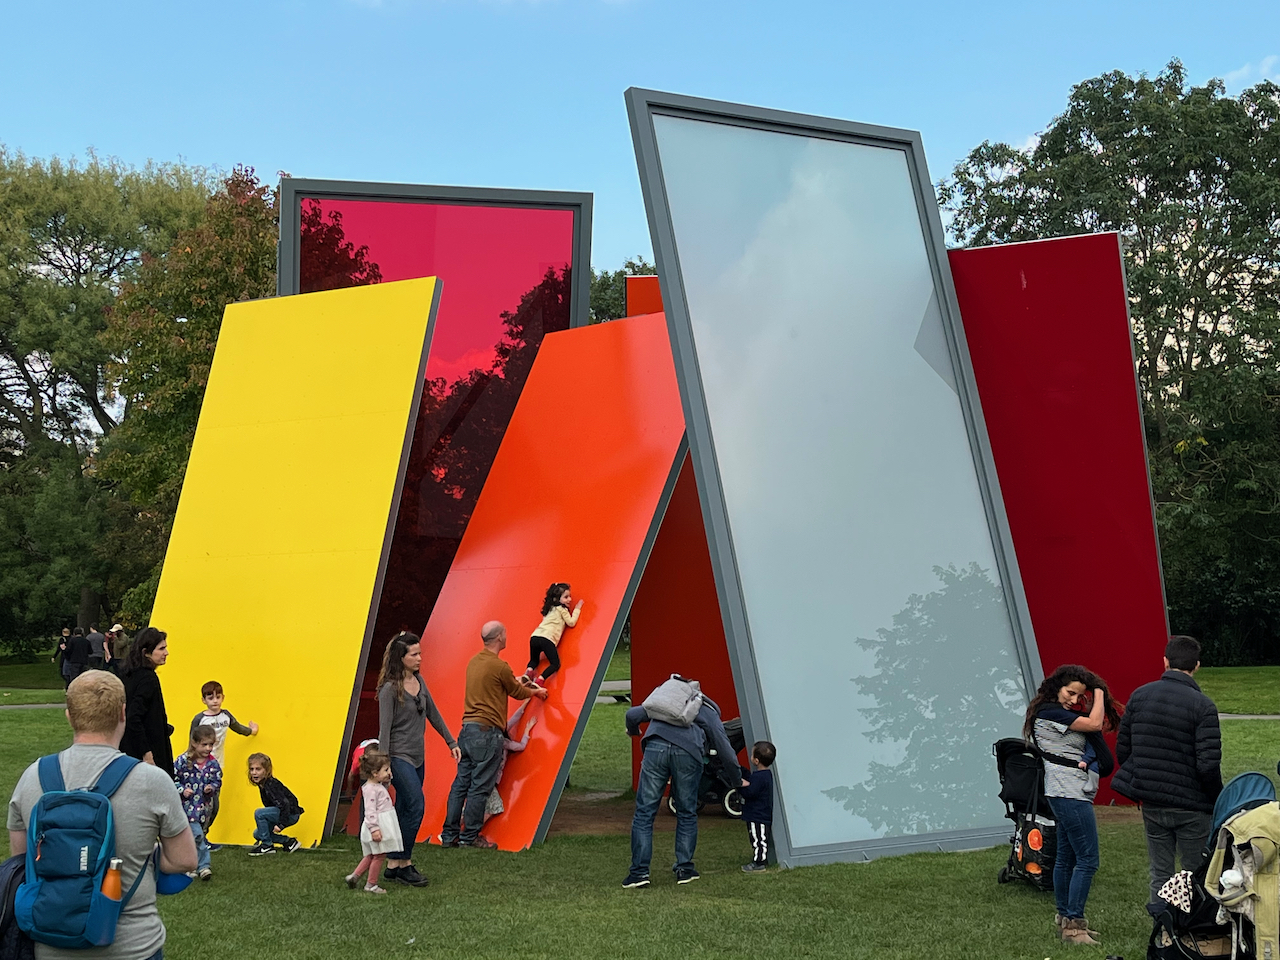
After taking the phone out to Regent’s Park this weekend, to get some snaps of their Frieze sculpture trail and other sights, I’m very impressed. The screen is so much brighter than the iPhone 6, so it’s an awful lot easier to see what I’m doing on my phone while out in the sunshine, even while wearing my sunglasses. And the photos are much clearer with more vibrant colours too.


Videos
I haven’t played around with video a lot yet, but I hope to share some clips on my Youtube channel soon. However, among the various features available for the Camera, the big new addition for videos is Cinematic Mode. This allows you to shift the focus between different elements of the picture in the Bokeh style, blurring the areas you don’t want to draw attention to. It can automatically recognise faces and focus on them, and then change the focus accordingly if the person looks away in a certain direction. Or you can change the focus depths manually. iMovie is also compatible with it, so you can edit videos recorded in this way to adjust the effects. I don’t think I’ll have any major use for it, but I might try it out if it feels appropriate one day.
Options
Meanwhile, in the Settings app, some of the Camera options include:
- Formats – The iPhone supports the HEIC format for images by default, which is superior to JPEG as the compression is better, so the images take up about half the space. However, it’s only really compatible with other Apple devices. I have to convert HEIC files back to JPEG to use them on my blog and social media – apart from Facebook, which will accept them, but it converts them to JPEG anyway. So here you can select either High Efficiency to use the new HEIC format, or Most Compatible to use JPEG. I’ve left it at High Efficiency, as I’m happy for the images to take up less space on my computer. Plus it’s easy to export the images to JPEG for use on social media and then delete those copies.
- Record Video – This was set at 1080p at 60 fps by default, but you can increase it all the way to 4K at 60 fps, so I’ve enabled that to see what results I get. Using the QuickTake option in the Camera app (where you hold down the shutter button while in Photo mode) will still only record at 1080p though. You have to be in Video mode to get full 4K footage.
- Preserve Settings – You can tick various options here to keep the last used modes and settings in the Camera app, if there are options you use regularly.
- Live Text – This new feature is enabled by default, and is also available under General > Language & Region. It allows the phone to use OCR to recognise text in your photos and other images, which you can take action on (e.g. contacting a phone number or email address), or copy it for use elsewhere. I’ve already tried it with an image I took in the park at the weekend, and it did indeed grab the text as hoped. There were one or two minor errors, as OCR isn’t always perfect, but it was very accurate on the whole. And by copying the text to the clipboard, I can use it on social media, or I can have it spoken to me, or I can paste it somewhere on my Mac as they share the same clipboard. So I can see myself making a lot of use from this feature, it’s very cool.
- Photographic Styles – This is a new feature that allows you to create certain preset styles for the pictures you take, which can be further customised in the Camera app. I don’t think it’s something I’ll use particularly, but I imagine a lot of people will.
- In the Camera app itself I’ve also turned off the Live Photo option, by tapping the circles icon in the top-right corner so it has a slash across it. When enabled, it records what happens for 1.5 seconds before and after each photo, so you can then watch it as a mini-video. But in saving this extra information, the pictures take up twice the space, and I’ve never been in a situation where it’s worth keeping that kind of detail. And it’s simple to turn on again if I do ever find a use for it.
Apps
All of my existing apps were transferred over, and automatically updated to the latest versions where necessary. The phone also retained the folder organisation I had created for my apps on the Home screen, where you drag apps on top of each other to group them together, so I’m glad about that. I prefer that way of doing things rather than having multiple home screens.
A few other apps were also added, but I didn’t want all of them. So I deleted GarageBand, Pages, Numbers and the Apple Store (which is for buying physical products, it’s not the same as the App Store). But I’ve kept Clips for now, in case it comes in handy for making fun little videos for friends or social media. And I’ve kept Shortcuts, as that might be worth playing with to see if it can speed up common tasks. The others can be downloaded again if I ever need them.
If you’re curious, you can see a full list of the apps I have on my iPhone Accessibility Features & Apps page, which I keep up to date when I add or remove things. And if there are any apps you think I should check out or review, you’re welcome to suggest them.
Accessories

Apple only give you a Lightning to USB-C charging cable with their phones these days, which is fine for plugging the phone into a Mac computer to charge it up, but that’s no use when you’re away from it. So I’ve also bought Apple’s Power Adapter for use with the Lightning cable (I like how the 3 prongs fold inwards to keep it flat for storage), and I’ve ordered Belkin’s 2-in-1 Magsafe Charger Stand that allows for wireless charging.
At some point I might also get the Magsafe Battery Pack that I can attach to the phone when I’m out and about, just in case. It might be useful to have it with me if there are any days when I’m doing a lot of video recording for instance.
It’s a lot of money to spend just to charge a phone, I know, and it is silly that Apple don’t even give you a plug now. But I should be getting several years of use out of it, so when the cost is spread out over time it’s not bad.
Likewise, Apple don’t include headphone jacks in their phones either now, which is a shame. They want you to use their wireless Airpods instead, and it’s believed that they’re going to be announcing the third generation of those in the very near future. But you can also get wired earpods with a Lightning connector for plugging into the phone, so I’ll probably get those soon, as I’m used to wired earphones and I feel uneasy about having small wireless pods that I could drop and lose.
I also bought a black silicone case with the phone, which feels very nice and should help to keep it in good condition.
Conclusion
I knew getting the iPhone 13 would be a big step up from the iPhone 6, so I’m not at all surprised that it’s turned out that way. It’s much more powerful and faster, and it’s easier than ever for me to see what I’m doing on its big and bright screen, assisted by the abundance of accessibility options. And apart from a few new features and gestures to get accustomed to, it still feels very familiar to use, so there hasn’t been much of a learning curve at all. So I’ve been able to set it up and dive straight into using it very quickly. It’s been a very easy and natural switchover, as it should be.
I’m still glad I waited for as long as I did to upgrade though, as the iPhone 6 was perfectly good for my needs for a long time, and it means that the money spent on my new device feels very well worth it. So I hope I’ll be able to hold on to the iPhone 13 for a good few years as well. I certainly know I’ll get plenty of use out of it
If I have anything else to say about it, either prompted by my own discoveries or suggestions from others, then I’ll probably do so in my monthly Favourites posts, unless I have so much to write that it warrants another post of its own. Either way, thank you for reading this post as always, I hope you enjoyed it. And do let me know if you’ve got one of the new iPhone models as well and how you’re getting on with it!


Thanks for the review.
LikeLiked by 1 person